Bread baking is a big trend and the delicious smell when you take the homemade bread out of the oven simply makes you happy! The bread has lot of delicious grains and perfect for a healthy start to the day.
Here we present a bread baking recipe for everyone – even beginners! If you also follow our bread baking tips at the end of the recipe, your home-baked wholegrain bread is sure to succeed.
Ingredients for the whole grain bread
0.35 oz. (10 g) fresh yeast
13 fl.oz. (385 ml) lukewarm water (plus more if needed)
17.6 oz. (500 g) bread flour
4.4 oz. (125 g) wholemeal spelt flour
1 1/2 tsp. salt
1/2 tsp. sugar
3.5 oz. (100 g) flaxseed
2.5 oz. (70 g) sunflower seeds
1.8 oz. (50 g) sesame seeds
1.8 oz. (50 g) spelt flakes (or rolled oats)
Instructions
To the start, the yeast must crumble and dissolve in the lukewarm water. You can mix the two types of flour with the salt and sugar in the large bowl mariella. Then add the yeast water and knead everything into a smooth dough. If the dough seems too firm, add some more water and work it in.
Add the linseeds, sunflower seeds, sesame seeds and spelt flakes (or oat flakes) and knead. The crunchy cereals are well stored in the jar of bruni and remain crunchy and fresh until the next baking session.
Leave the dough to rise for about 1 – 1 1/2 hours in a warm place, covered, until the volume has approximately doubled.
Now preheat the oven to 230°C (450°F) together with a baking tray. Bread always needs hot temperatures (at least 200°F) and should be baked at top and bottom heat! The result is best if the bread is baked very hot (250°) for about 10 minutes and then the temperature drops to 200°C.
It also depends on the humidity: when baking bread, a high humidity in the oven is important! To achieve this, you can simply bake a small baking tin with water to create steam.
Now you can let off steam: To allow the air to escape, box the dough on a floured surface.
Then shape the bread dough into an elongated loaf. If you have a bread baking basked, you can put the dough in it (dust it with flour beforehand, dough end facing upwards) – otherwise, place the dough on a piece of baking paper (dough end facing downwards), cover it with a kitchen towel and let it rise for another 20-30 minutes.
If you are using a bread baking basked, turn the dough onto a piece of baking paper (loaf seam side down). Score the dough several times, brush it with water and dust it with some flour. Then pull the dough with the baking paper onto the hot baking tray and bake it for about 10 minutes. After 5-10 minutes reduce the oven temperature to 200°C (390°F) and bake the bread for another 30-35 minutes until it gets a nice crust.
You can also knock on the underside to check if the bread is cooked: if it sounds hollow, take the finished bread out of the oven and let it cool completely on a grill.
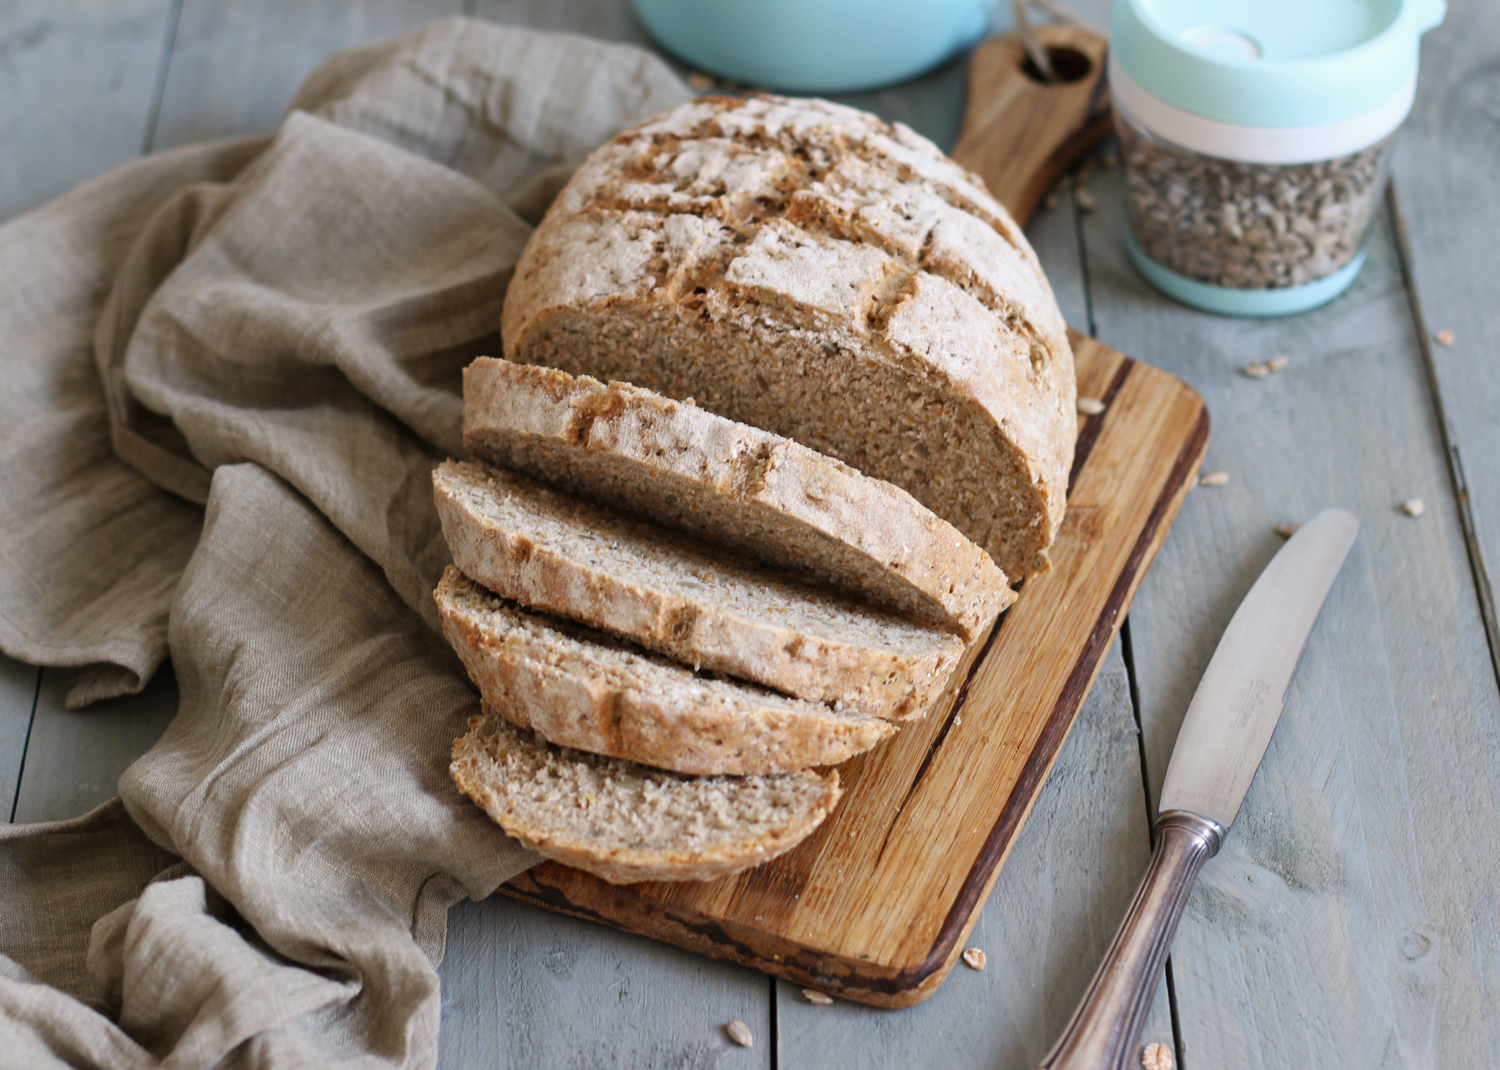
Freshly baked and just cooled down, our whole grain bread tastes best!
More bread baking tips:
Time and patience
Baking fresh bread yourself takes time and patience. Nowadays we often miss both. Nevertheless, you should always give the dough enough time to rest in a warm place. Tip “Finger test”: If you press a hole in the dough with your finger and it closes again, the dough is ready to be processed further.
Kneading for airy, fluffy dough
Whether by hand or with a food processor is irrelevant. The important thing is to knead the bread well and for a long time! This way the dough absorbs a lot of oxygen and the bread becomes fine-pored and airy. Therefore: The longer you take the time to knead, the finer the bread becomes!
What is the dough closing?
The end or seam is the “unsightly” side of a formed dough. Depending on the type of bread and the desired look, the dough is placed on the baking paper or in the bread baking basked either with the end facing up or with the end facing down.
If the dough is placed in the bread baking basked with the loaf seam side up, the “beautiful” side will be on top after it has fallen down and the bread can be cut on a smooth surface. If the dough is placed in the bread baking basked with the loaf seam side down, the “unsightly” side will be on top after the bread has been turned over. You can, for example, have such breads “wild” ripped open. Everything logical?
Crispy crust
A particularly beautiful crust of bread creates a small bowl of water, which is placed in the oven for the first 10 minutes. The rising water vapour creates a crispy outer layer. But: Make absolutely sure that the vessel is fireproof! Alternatively, you can spray a thin layer of water on the bread before baking (tip: use a clean spray bottle).
Knocking test – When is the bread ready baked?
The knocking test shows whether the bread is baked through on the inside. To do this, take the loaf of bread from the baking tray or from the mould and tap the underside with your finger. If it sounds hollow, the bread is ready. If it sounds rather dull, simply continue baking for 10 minutes and then repeat the tapping test.
